Playroom Update.
Now that it’s winter and the kids are home more than ever before, I decided to focus my efforts on updating our playroom to make it more fun and inviting. Our basement is actually pretty large and l-shaped, which allowed me to create several “zones” (which I’ll share with you guys at a later date):
TV/lounge area (for watching movies or doing karaoke )
Toy storage wall (floor-to-ceiling cabinets to house most of the kids’ board games, puzzles, and toys
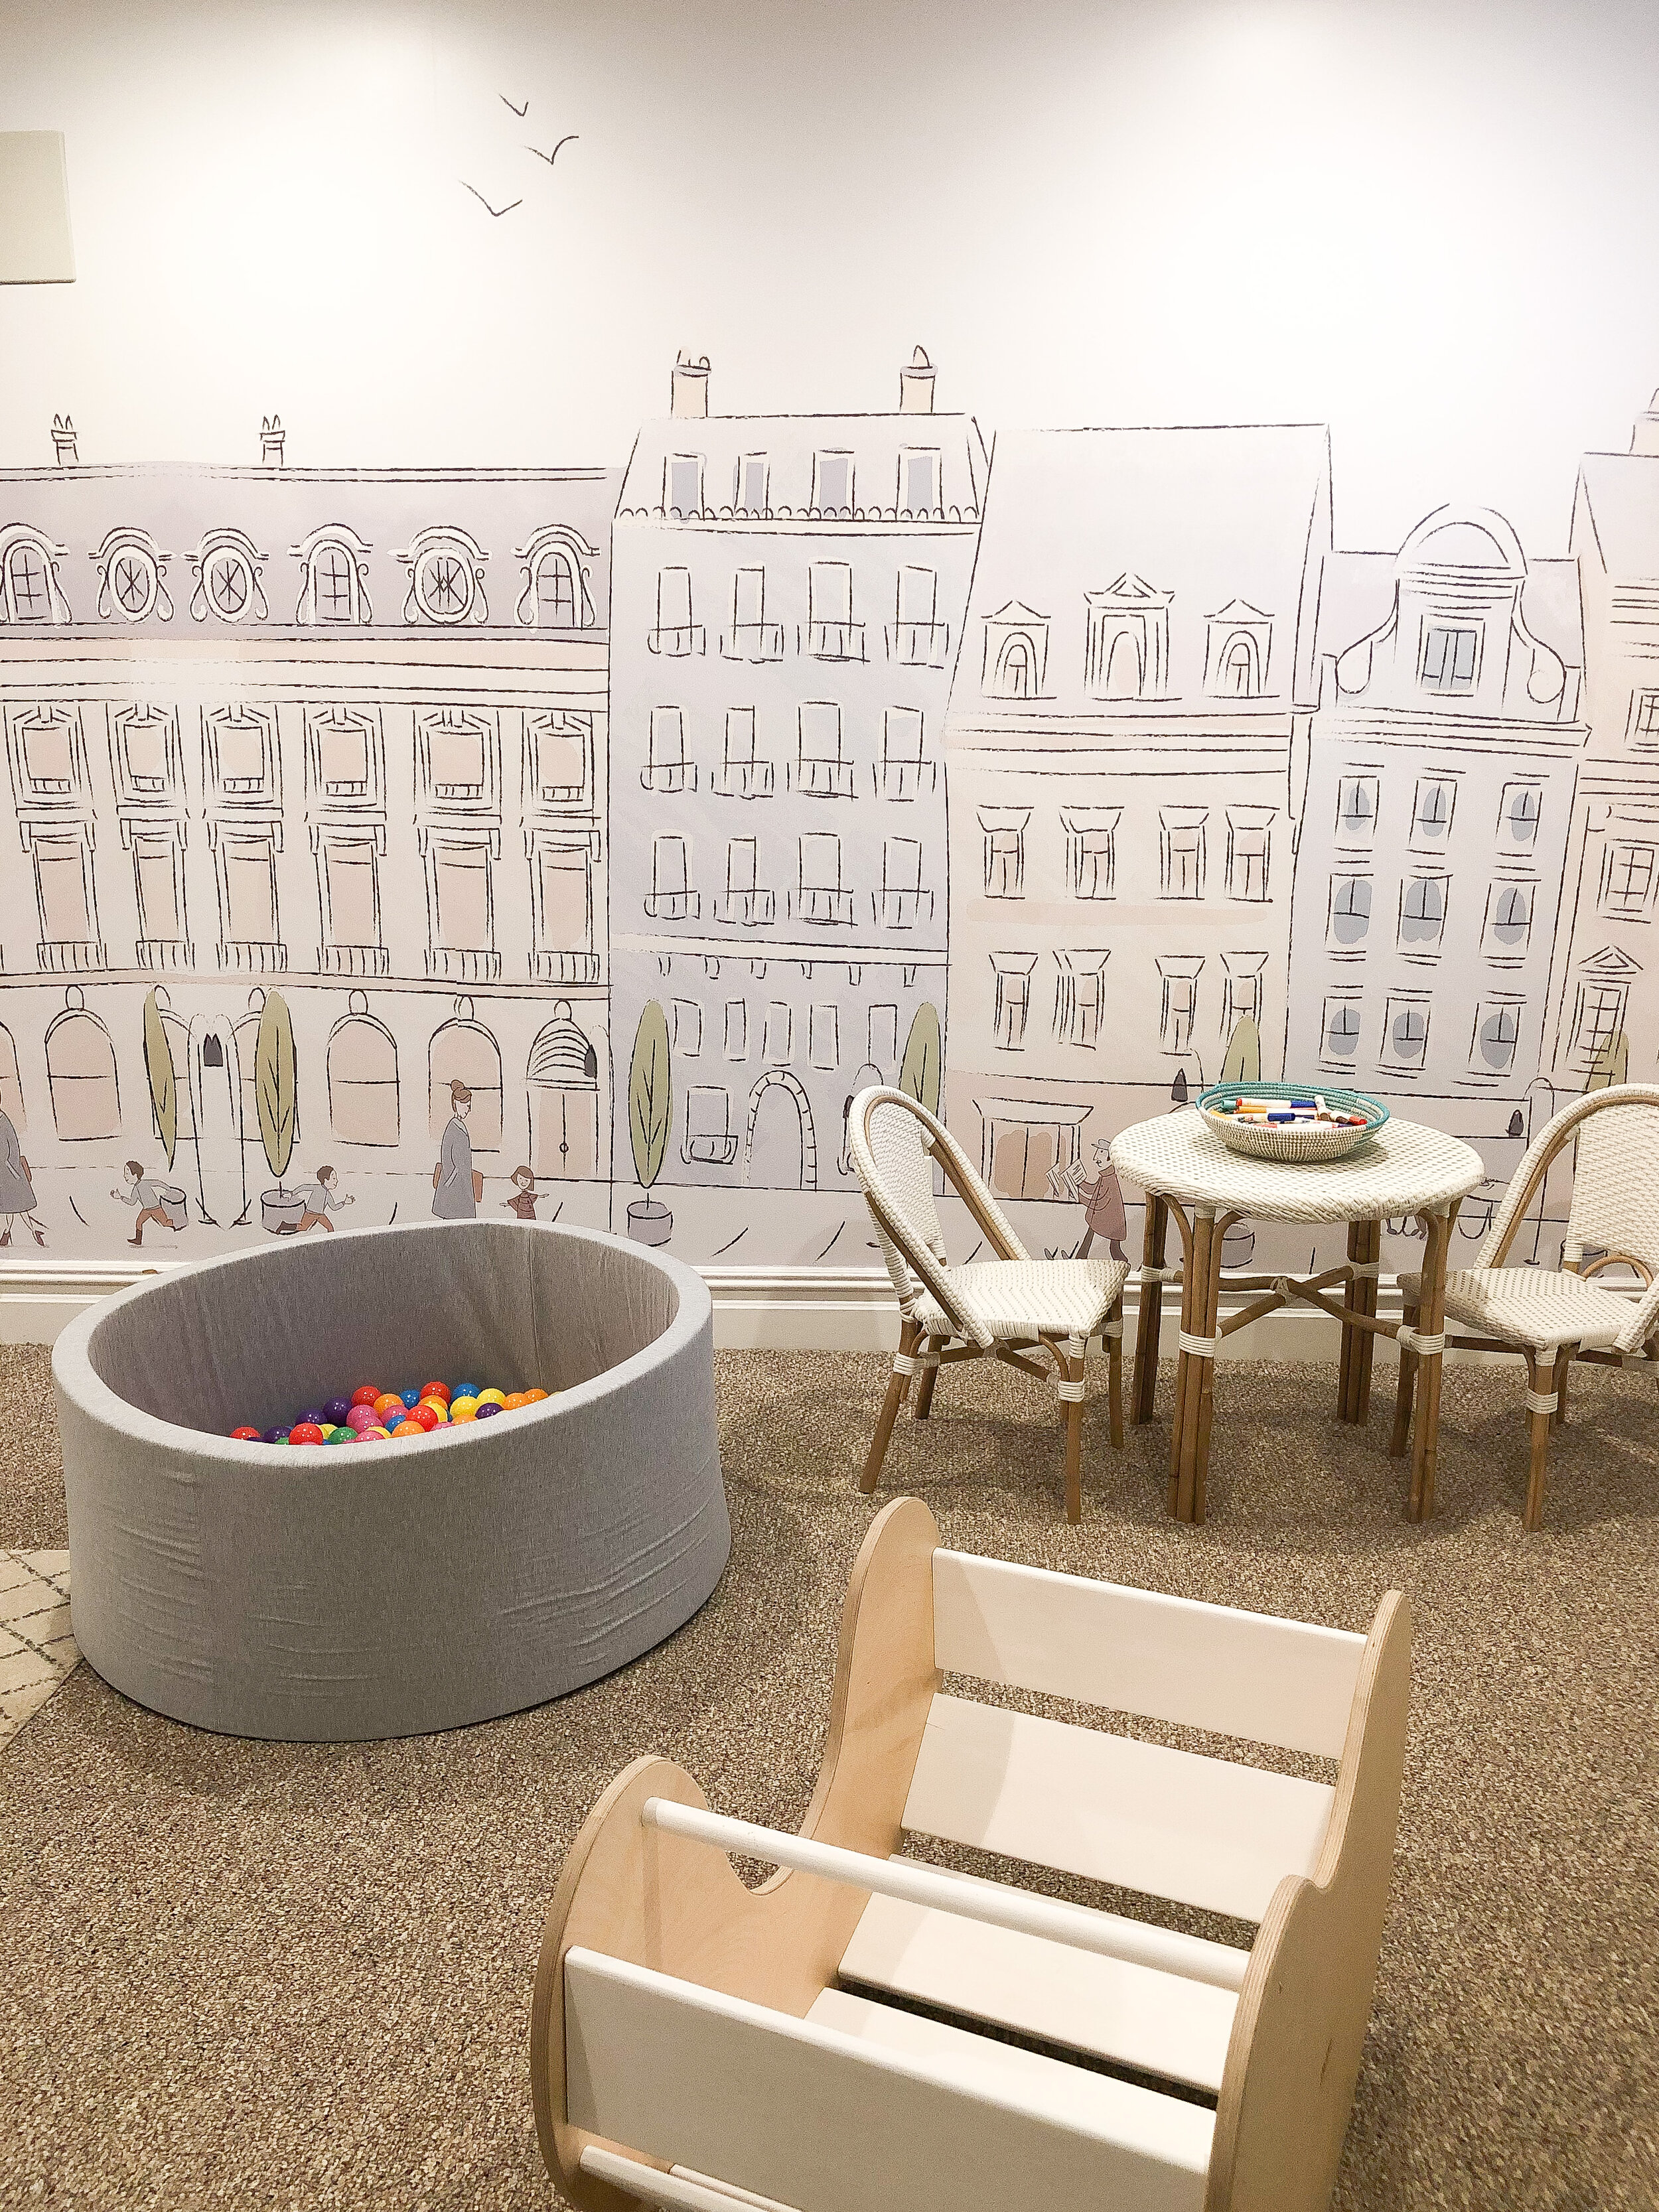
Arts & crafts area (a giant gallery wall of the kids’ artwork along with a little table and chairs for coloring
In addition to the above, there remained a large, blank area where I used to have the kids’ teepee and ride-along toys, which they’ve since outgrown. If you’ve been following me for awhile, you might remember that I originally had a small gallery wall of artwork on the wall and then replaced the gallery wall with simple dot decals. I knew the space would change as the kids got older so I didn’t put too much effort into it and planned to wait until it made sense to update — but lately I’ve been really eager to update this space!
See what I mean? Here’s a look at the “before” of this spot.
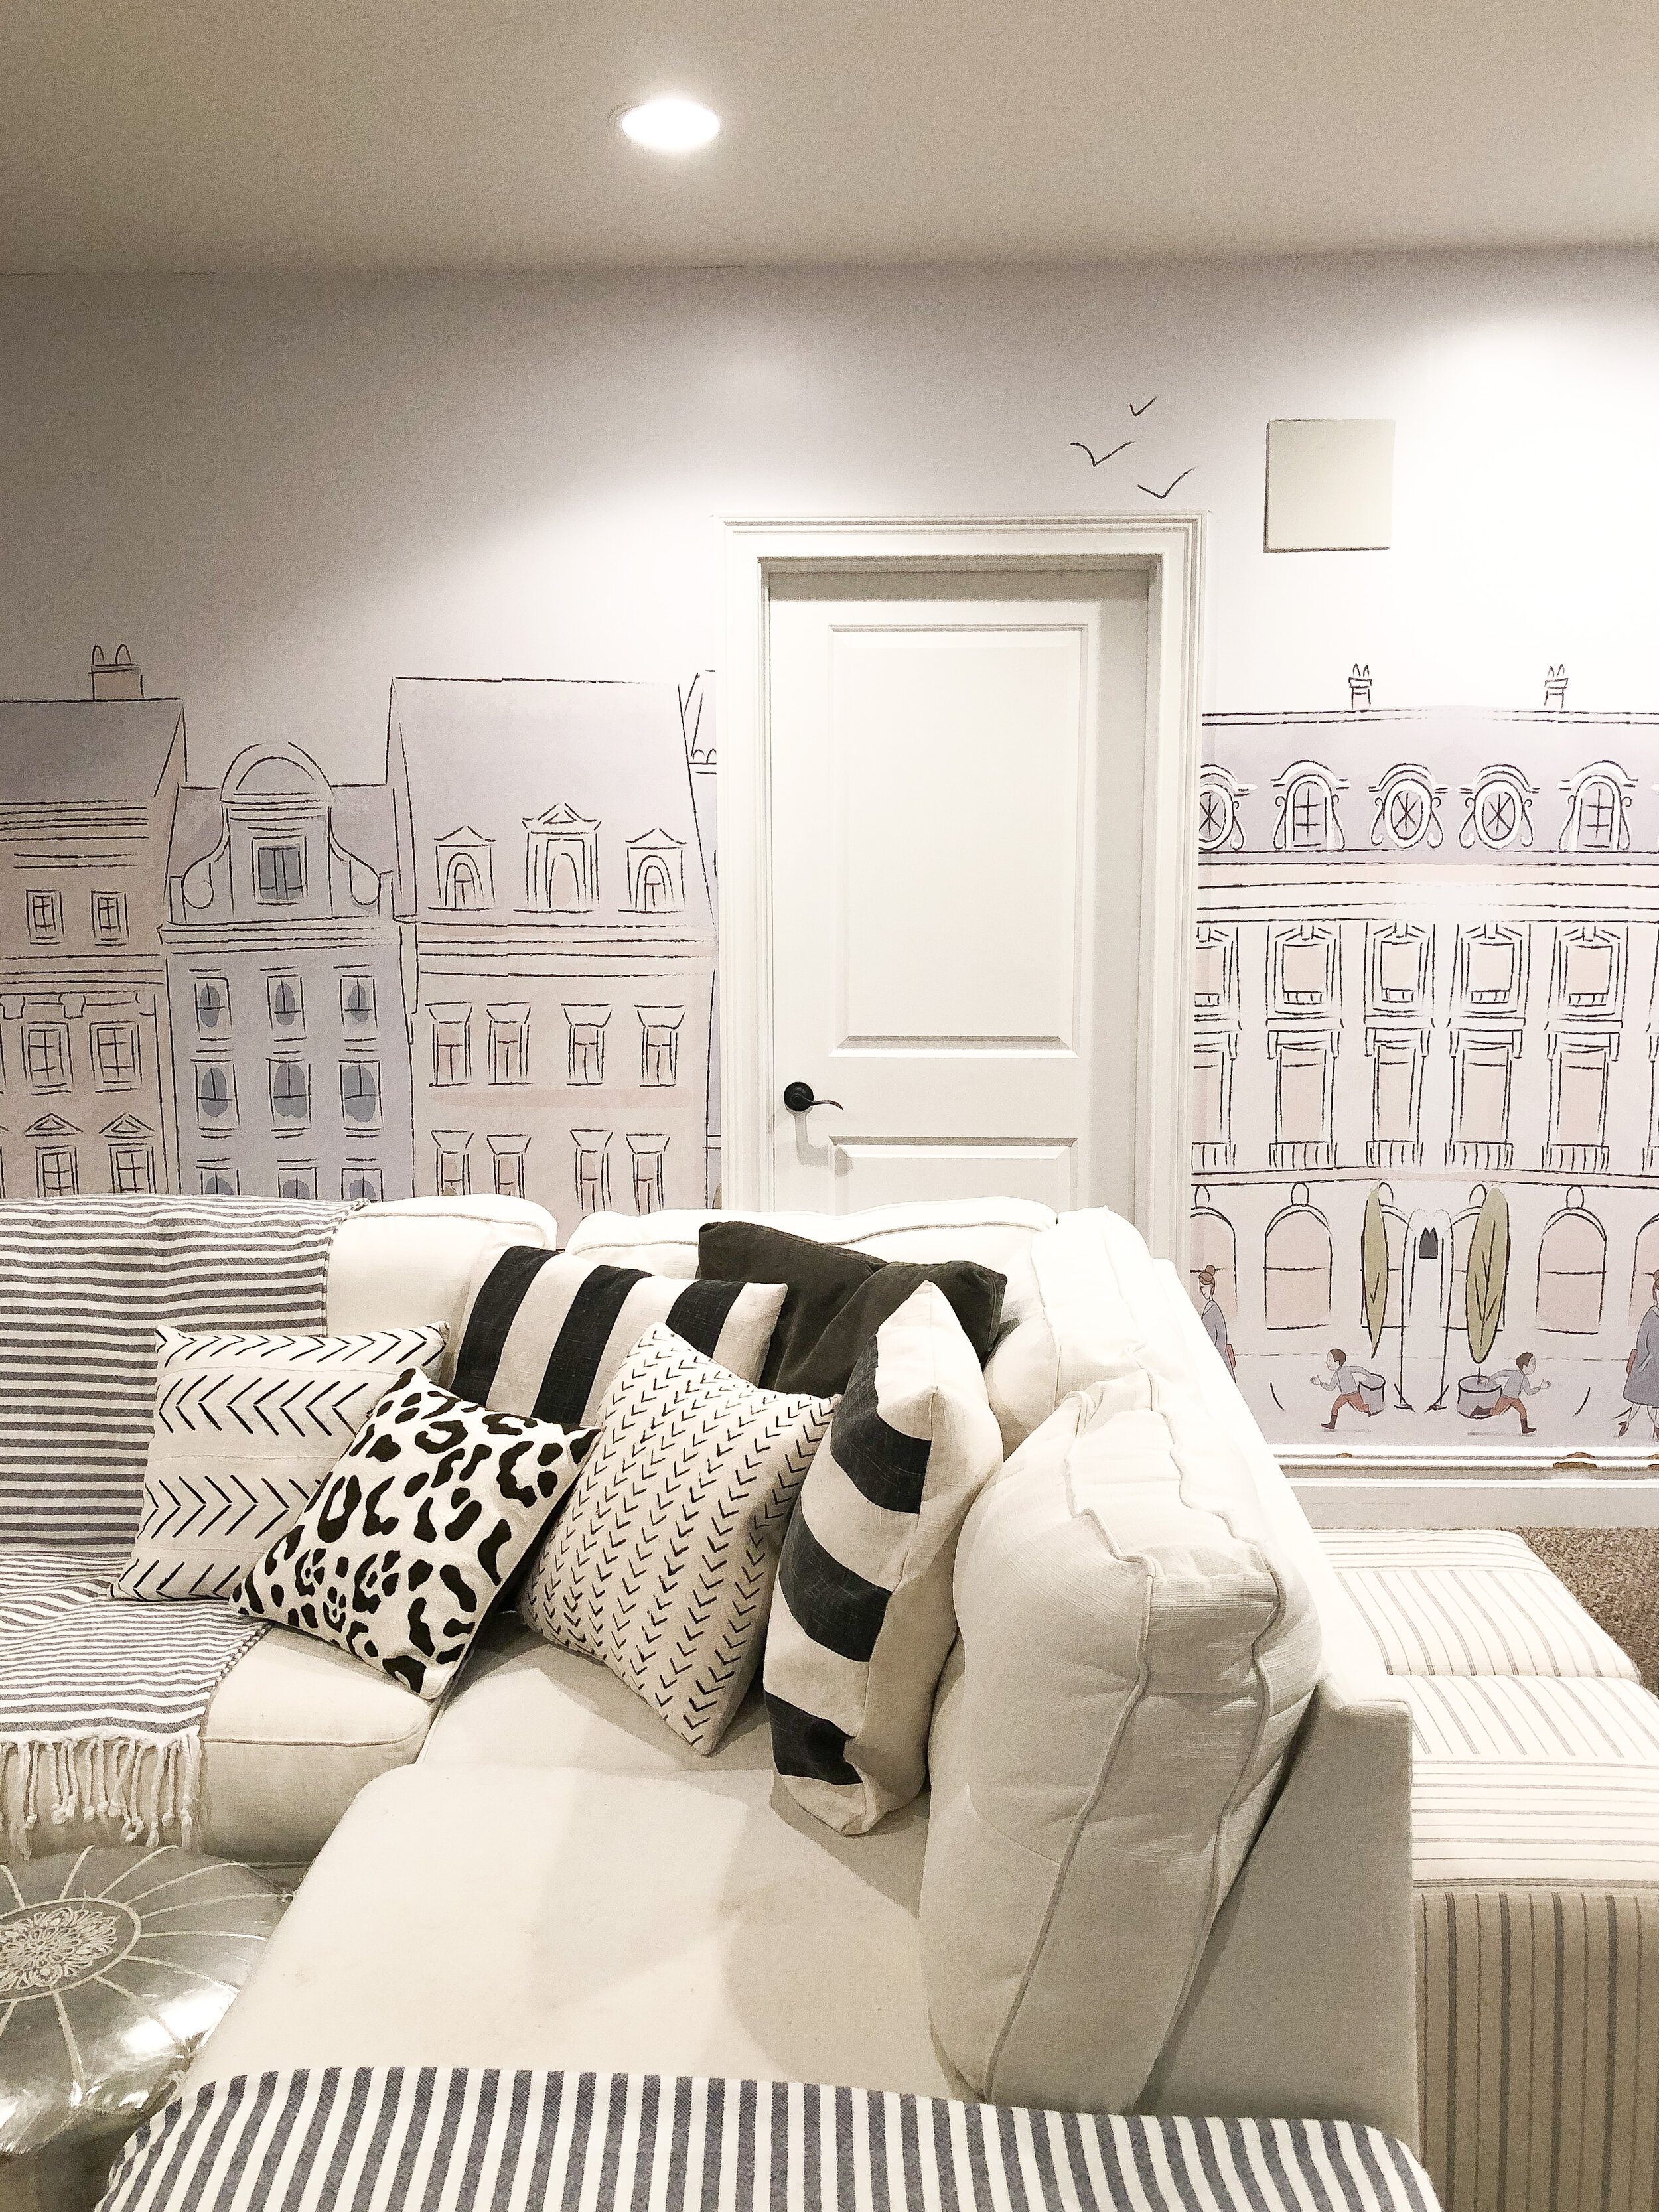
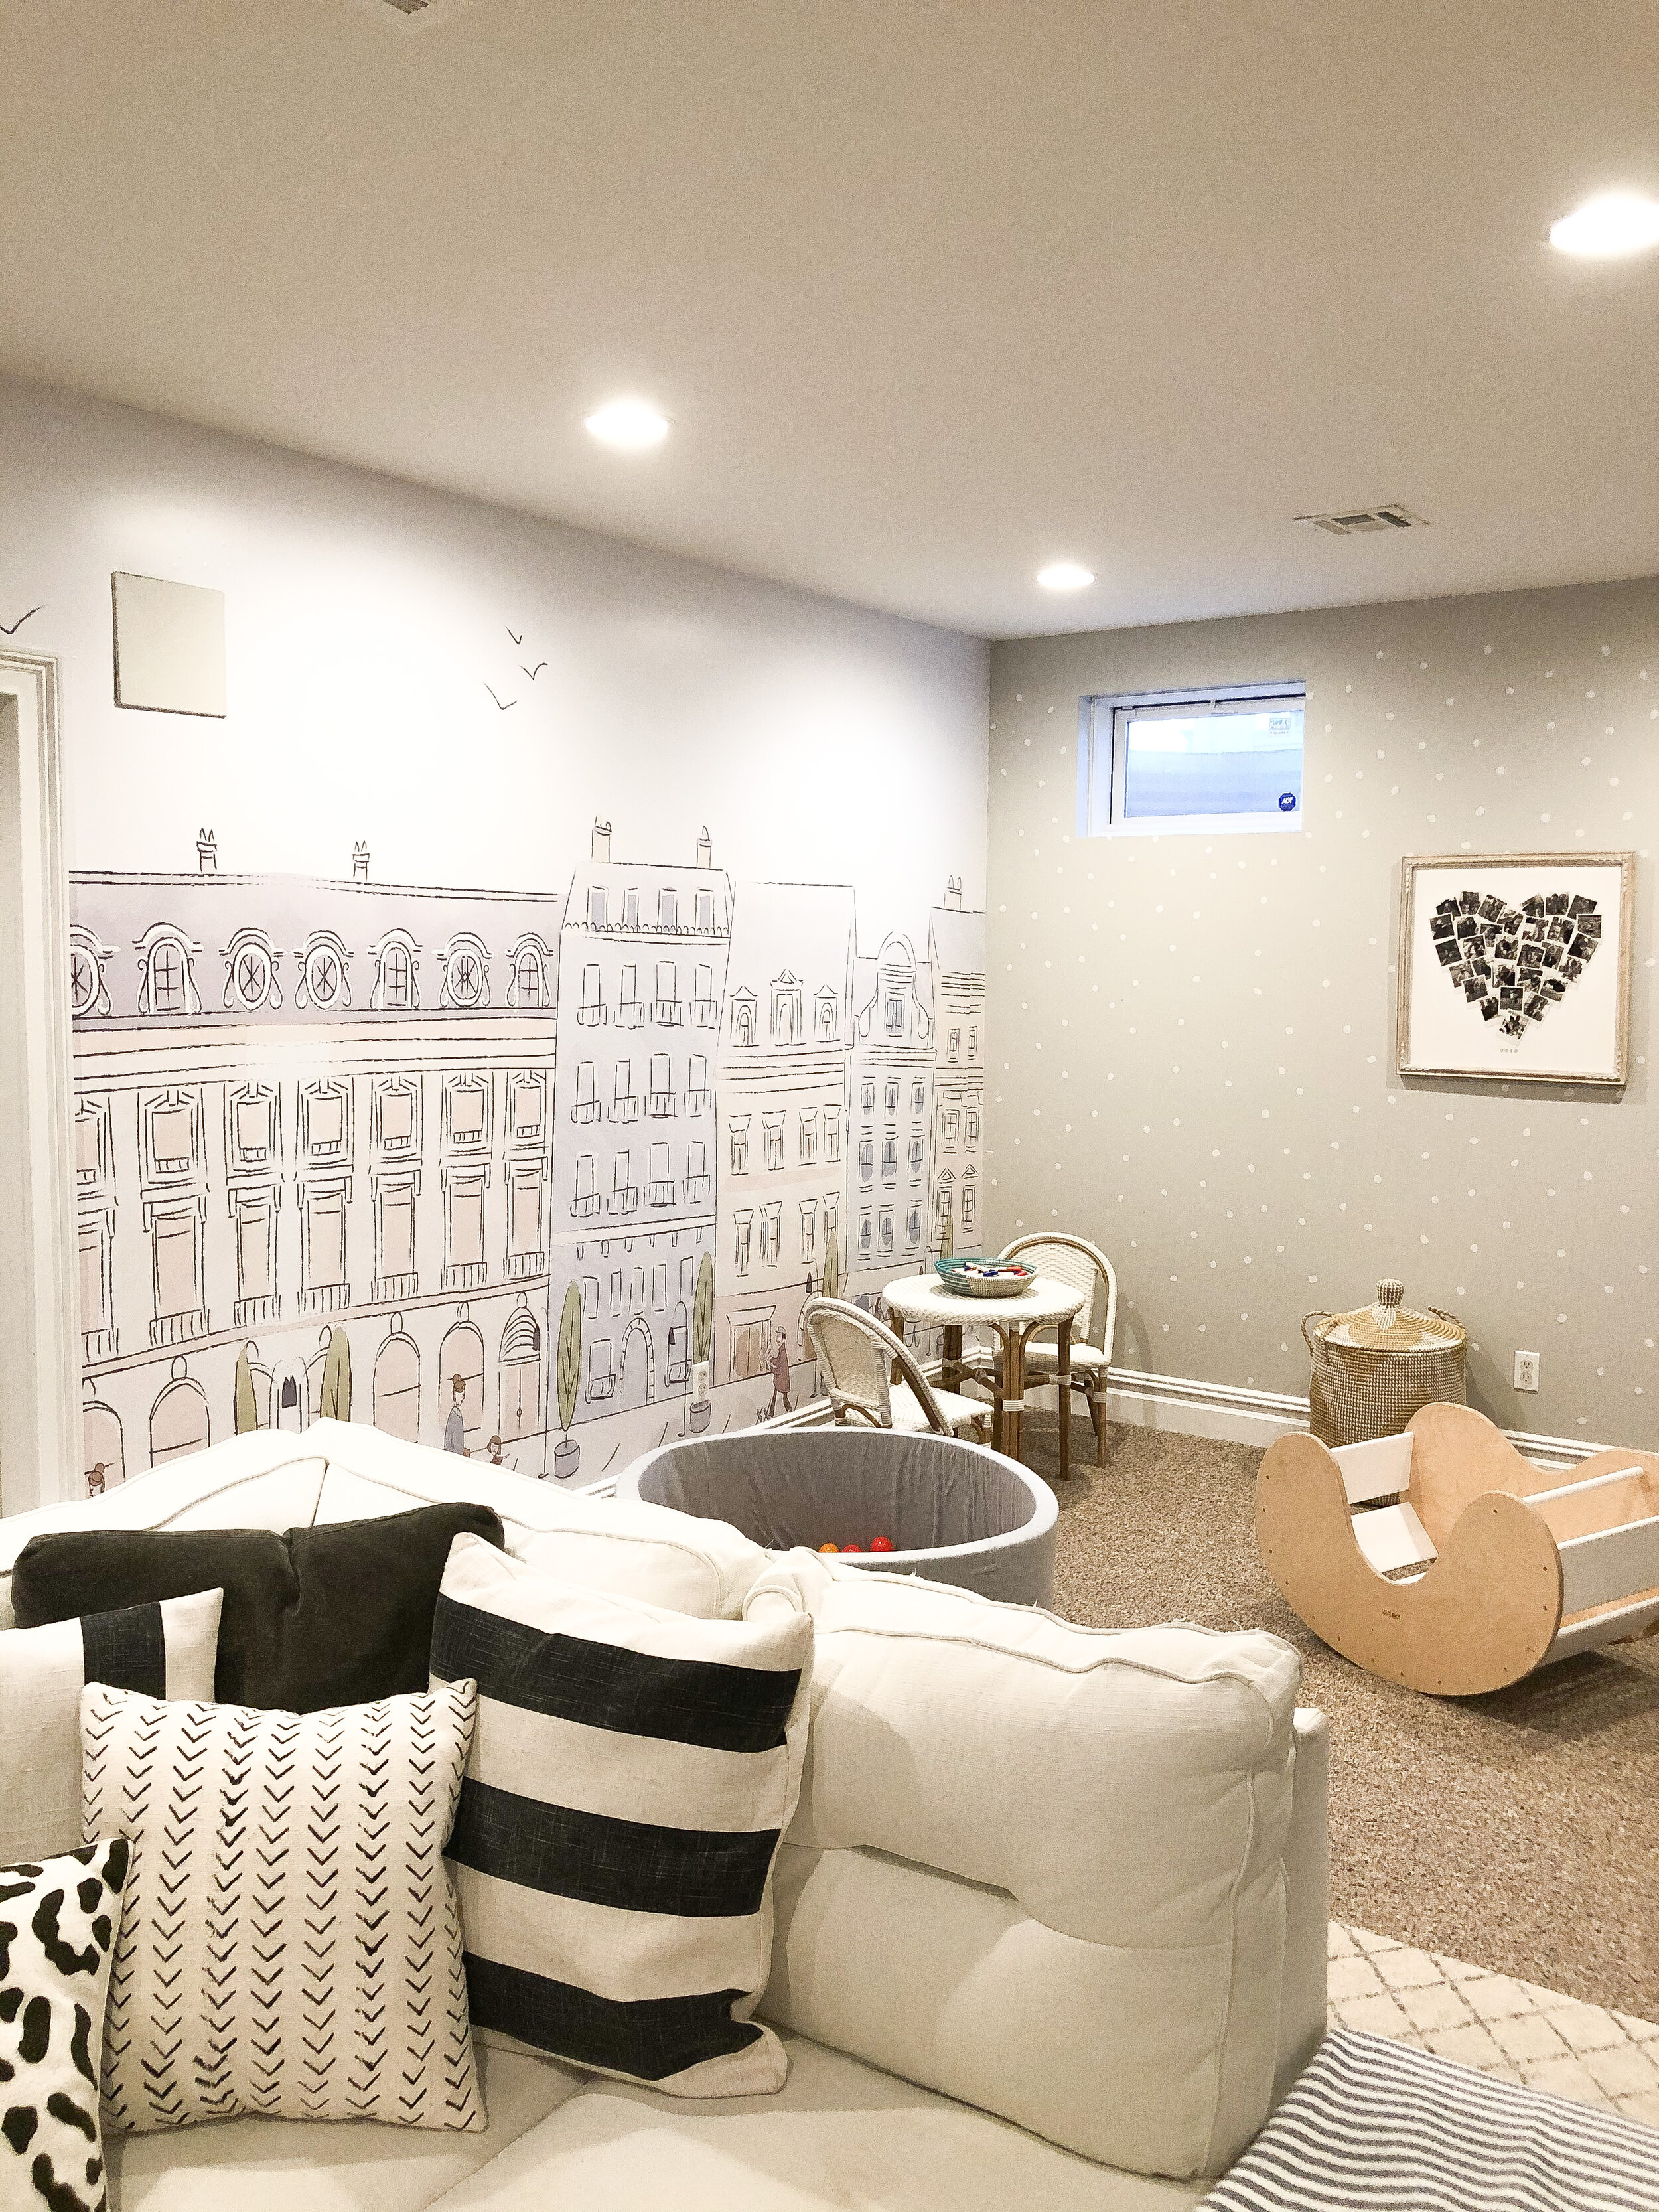
I envisioned some fun wallpaper to fill the large blank wall so when the kind folks at Anewall reached out to ask if I’d like to add one of their gorgeous wall murals to our home, I immediately said yes! They have a ton of really stunning designs but I chose the Parisian Street Mural and absolutely LOVE how it looks. The muted colors in the illustration are gorgeous.
For any of their designs, you can choose between between traditional, pre-pasted or peel-and-stick wallpaper. I chose the peel-and-stick because for me, it’s the simplest to install. The first step for me was to remove all of the small dot decals that I had on the wall (which, in all honesty, was the most annoying/difficult part of this whole project!). Once the decals were off, I just wiped down the wall with a tack cloth to make sure there wasn’t dust/dirt/dog fur on the walls before installing the wallpaper.
When you choose a design, Anewall allows you to customize the design based on your wall measurements to ensure that it fits in your space perfectly. AND Anewall numbers each of the panels so installing is simple (and, much to my appreciation, they even roll all of the panels up in order so you can unroll them easily). Not all companies do this and it actually makes installation soooo much easier!
After wiping down the wall, I removed all outlet covers and then unrolled each of the rolls to lay flat on the floor just to confirm that the pattern matched up perfectly.
Then, I drew a plumb (straight) line on the wall and lined up my first panel. The first panel is always the trickiest because you need it to be straight but once it’s on the wall, it’s smooth sailing after that.
Simply line up the second panel to the first (matching the pattern) and smooth onto the wall slowly. If you make a mistake or you find there are air bubbles, you can gently peel off the panel and reposition it.
After the first panel is on the wall, simply line up the next panel from the top of the bottom and begin smoothing to the wall. (Pls ignore the broken baseboard here — planning to fix that soon!)
5 panels up! Just a few more to go…
Our wall is pretty large so it took 11 panels but they all fit really nicely and the end result is just gorgeous! I love how this mural has completely transformed our playroom and is the perfect backdrop for some imaginative play. The end result is absolutely incredible! It’s crazy how a wall covering can completely transform a room….
I’m sharing a few more photos below. Would love to know what you guys think!! And a huge THANK YOU to Anewall for making the kids’ playroom dreams come true. We could not have made this space this lovely without you!


